Showing posts with label recipes. Show all posts

Wednesday, 30 November 2016

How to make Chewy Chocolatey Brownies Recipe.


Today, I am going to be walking you through how to create these delicious chocolate brownies. They are so quick and easy to make and you can fill them with a variety of milk, white and dark chocolate and you can make them as decadent as you choose.


Ingredients
- 125g unsalted butter (though I found any baking butter will do)

- 125g dark chocolate chopped. (I tend to add a little bit more for that decadent richness)

-3 eggs, lightly whisked
-250g of Caster sugar (feel free to vary this depending on how sweet you like to have it)
-115g Sifted Plain flour
- 30g Cocoa Powder
- Pinch of Salt
-Chocolate Chips (optional)

(Whilst there are some ingredients that you can vary, try to stick to the measurements as best as possible as deviation from them may lead to a change in the consistency of the brownies and ultimately failure in the pursuit of delicious brownie perfection.) 

Steps to a delicious brownie
1. Set the oven to 180 degrees Celsius. Fill a pan with water and start to boil the water. Next take the chopped up chocolate and the cut up butter, put them in a bowl on top of the water ensuring that the bowl does not touch the water. Stir periodically and eventually it should be a smooth blend of the two.

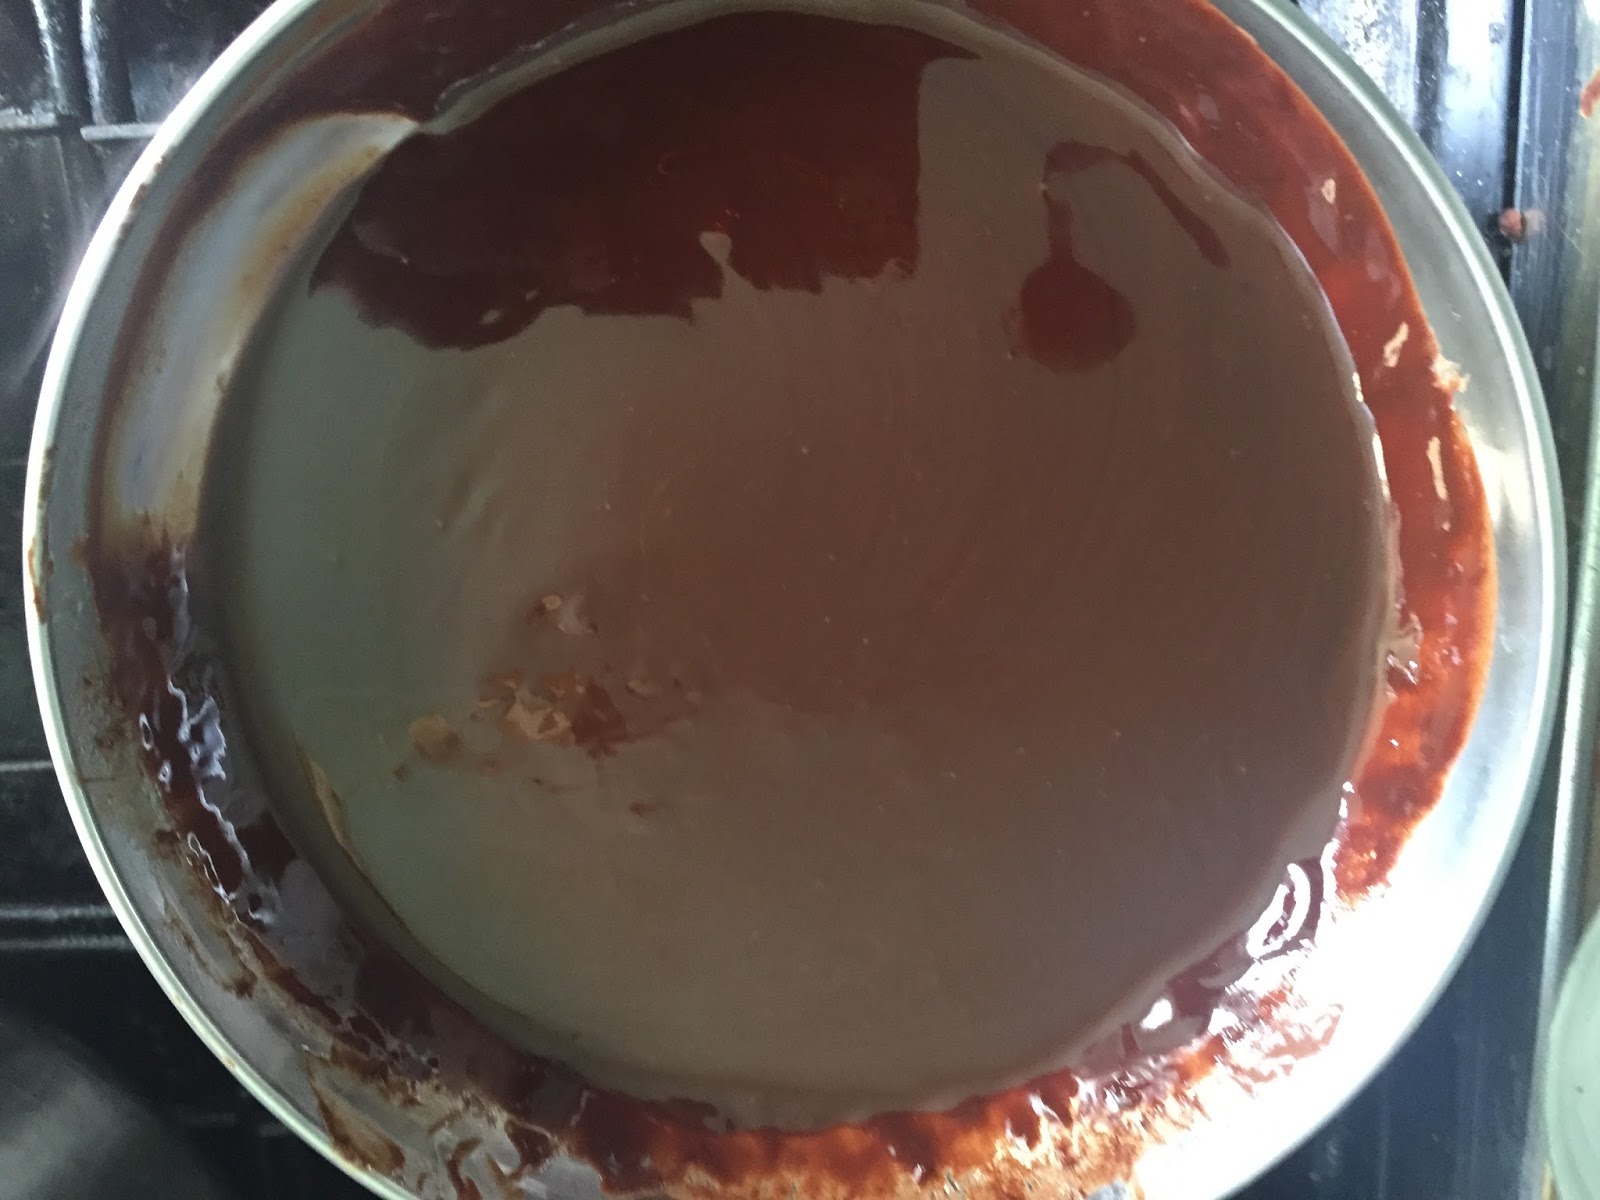
 It's best to use a metal or stainless steel pan for this as it works quicker in melting the mixture as opposed to plastic. 

2. Once completely melted, add in the other ingredients, the flour, sugar, egg, cocoa powder, salt and mix altogether.

3. Once you have a thoroughly mixed mixture, add in your chocolate chips, for this recipe, I used broken pieces of dark chocolate bars. (The expensive kind) to give it a richer taste.

4. Grease a tin of the appropriate size with butter/ or grease-proof paper. Pour the mixture into the pan, using your wooden spoon to smooth it over at the top.
Do not lay the mixture too thickly as it will rise and you could end up with a brownie piece that's too thick.
It would be best to have it at about 3-4 cm from the bottom of the pan.

5. Put the mixture in the oven and leave for about 30 minutes-45 minutes, checking on it regularly. It does not take long to cook, and if you put a fork into the brownie, it should come up with crumbs clinging to it. (The fork does not need to come up clean.)

Set aside for a while to cool and enjoy your brownies. 

Don't forget to share the recipe and subscribe to the blog for more delicious recipes.


Make sure to follow me on social media and show me your own creations.


Twitter: @Cocoa_Infusions               Instagram: @Cocoa_infusion                 Snapchat: Blessbox

Check out my other recipes here and here!


Monday, 4 May 2015

How to make Jollof Rice without a blender! (New Recipe)

Hey Guys,
This has been a long time coming, but I've literally been too lazy in getting this out here, but it's  finally here now.
As a student, I didn't have a blender the whole of first year and for most of second year so I had to get super creative and one of the ways was in making Jollof rice. As you may know, you usually need a blender for making Jollof rice, but the truth is that you can actually make it without one and taste wise there is little difference. Does it taste much better with a blender? Of course it does, but when you just don't have one, this recipe is a fast and alternative way to enjoying the food you love.

Cooking time: 1hr
Feeds: 4 people (average)


INGREDIENTS
A cup of Rice
1 Onion
1 can of chopped tomatoes
1 small spicy pepper (Ata Rodo for my Nigerians)
1 tablespoon of Tomato puree
1 tablespoon of oil
Seasoning-(MAGGI, Parsley, dried pepper, jumbo all purpose seasoning, all purpose seasoning, a little curry powder, Jellof seasoning and a dash of salt)
** I haven't really put measurements for the seasoning as I'm the type of cook that likes to play it by taste but a half a tablespoon of everything should be fine but always taste to make sure it's to your liking.

RECIPE
1. Put the rice to boil, you only want to parboil the rice, not fully cook it, so make sure you don't cook it until it's completely soft, take it off the fire once its almost cooked but still resistant to your bite.
Sieve out the remaining water if there is any and wash the rice with cold water then leave to the side.


2. Next, in a different pot, put the oil in the pan, and once heated, fry the chopped onions and chopped spicy small pepper. (this is really spicy so be sure you can handle it befoe you mess with it) You can also fry this along with some chopped fresh tomatoes.

3. After 2 minutes, open the can of chopped tomatoes and pour into the pot. Use the wooden spoon to break the bits up into as small pieces as possible and allow to start cooking.


 After about 10-15 minutes, start adding your seasoning, it doesn't really matter what order you add them in, but make sure you taste it regularly to make sure it's not too salty or too spicy etc.


4, Leave to continue cooking for about 10 minutes, then pour in the rice. Stir in the rice, adding tomato puree if the  consistency is too watery. The tomato puree may not be needed. The rice should not completely fill up the tomato sauce as this will leave you with light orange rather than bright orange rice and the tomato should not be too much otherwise the finished product will be  too soggy. Consistency is essential with this method.
 5. Leave the rice to boil, cover with a piece of foil to allow it to steam, make sure to check it regularly to avoid it burning to the bottom of the pan and to avoid it being overly soggy.

**You can use any type of rice  you wish but from experience (and I have had a lot of failed attempts believe me, long grain rice usually works best with this method.) You can of course use basmati also but there is risk of the rice becoming mushy if cooked for too long. (Under no circumstances must you use cheap 40p rice  from morrisons/asda, it will be the worst mistake of your life)
     
Hope you guys enjoyed the recipe, Let me know how it turns out for you. Remember to comment below, subscribe to the channel and share!

Until next time,
Blessing. xx

Monday, 1 December 2014

How to make a Spicy Chicken Wrap with red pepper and tomato salsa

Hey Guys,

So I'm bringing a new recipe to my fellow adventurous cooks!
This one is one I stole from the madre, if you know her, you know her food be slaying. She made me one for lunch for my Law firm event and I fell in love so got back to Manchester and decided to make my own spin on it.

INGREDIENTS:

Tortilla Wraps (If you want it more healthy, get whole wheat ones, they taste just as great)
Chicken Fillet/ Breaded Hot and Spicy Chicken
One Red Pepper
1/2 Tomatoes
Half an Onion
Lettuce
Dollop of Mayonnaise
A tablespoon of oil
A teaspoon of tomato puree
Seasoning (All purpose, parsley, chilli powder, maggi)

RECIPE:
First, if you are using a breast fillet, season the chicken and put it in the oven. Personally I preferred the Iceland breaded hot and spicy chicken, it tasted great and brought the whole meal together but if you feel the need to know exactly what goes into your mouth then you can season a breast fillet as well, I would advise coating it in bread crumbs for the added flavour though.

2. Chop up your onions, tomatoes and red pepper.

3.  fry them in as much oil as you feel is required, I suggest about a tablespoon. Add a tiny bit of tomato puree to thicken it then season. My choice of seasoning was a Maggi cube, Parsley, a tiny bit of curry powder, the good ol All Purpose seasoning and a lot of chilli powder.

3. Lay out the Tortilla, cut the breast fillet into about four portions and assemble 2 on each tortilla wrap or if you are using the Iceland breaded chicken use 2 to a wrap.

4. Place the tomato and pepper mix on top. Then add your lettuce to the mix and smear on a little mayonnaise.

5. Pop back into the oveN for about 5 minutes to cook the tortilla. Take them out, cut in half and Enjoy!

This literally took me under an hour to make so whenever you're feeling a little peckish and want a quick healthy bite to eat. You know what to do!

Thursday, 6 November 2014

How to make Nigerian Fried Rice!

Hey Guys!

So recently on my weightloss journey post, I mentioned that I would be doing some healthy recipes and sharing them with you. Now you're probably thinking FRIED rice can't be all that healthy but there actually isn't that much fat in it and if you add a lot of vegetables the meal can be enjoyed as part of a balanced diet, so here is my step by step on how to make Nigerian Fried Rice.

Ingredients
2 TABLESPOONS OIL
2 CUPS OF RICE
SWEETCORN
SPRING ONIONS (for flavour and aroma)
ONIONS (to act as onions)
PRAWNS
TOMATOES
PEAS/MIXED VEG
CARROTS
PEPPERS(optional)
SEASONING (Listed in recipe)
PLANTAIN AND CHICKEN WITH SUPERMALT (Like real Africans do)

Recipes
1. Chop up all your vegetables and onions. Cut up all the vegetables into one bowl and then chop up all the onion into a separate bowl. 

2. Line the bottom of the pot with oil(use as much or as little as you think you need but you don't need a lot. Then add the onions, fry for about 3 minutes.

3. Wash your rice then add to the oil and make sure there is significantly more rice than oil and start to fry the rice. Mix it about often to stop it sticking to the pan, sticking together or burning. Do this for about 7 minutes.

4. Add water to the rice, not so much that there is excess water over the rice. Just enough that the water is just about level with the rice or a centimetre above it. At this point, add your seasoning. (All Purpose, Parsley, Curry powder-this gives it the yellow colour, mixed herbs, Maggi, chilli powder).#

5. Leave to cook, after a while, when the rice begins to soften and cook, add your vegetables, if the rice is drying out, add more water but be careful not to drown it and make it soggy and nasssty. With the vegetables added, Cover it with foil and let it simmer. Make sure to check up on it often and add water if required. 

6. When the rice becomes soft enough to your taste, take off the boil.

7. Serve and accompany with Plantain and Chicken. (Comment if you would like a post on how I season my chicken.)

I wish I could have given you step by step pictures as well but my phone gave up on me midway. But this is the final product. I served this to a couple of my friends who loved it and praised it highly but then again they're my friends  so they may have just said that but I'm gonna take it regardless.

Finally shout out to my mummy for teaching me how to cook and increasing my bride price by N100 000.

Monday, 20 October 2014

Weight Loss journey!

Hey Guys!

So I just finished an intense work out session with my flatmate and I am feeling soooo good! Never realised how good exercise actually makes you feel. When you're doing it, it feels like the world would end anytime soon, but as soon as you're done,you just feel happy that you're healthier and proud of yourself that you've achieved so much.

I've been meaning to get right for a while in terms of my health and fitness but I've just been too lazy so when my flatmate burst in and announced she wanted to get fit in 6 weeks, I thought why not, let me use this opportunity. Now I have the type of body that unless you look closely, it looks on point, behind closed doors, only I know what's really going on but by embarking on this journey I'm hoping to make my body look good in public and in private.

Of course this means fixing my diet as well! For those who know me they know I am literally the queen of chocolate, like I consume immense amounts of chocolate in one sitting and by one sitting I mean several large packets a day, but today I was able to control myself and didn't buy a single chocolate(boy the struggle was real, trust me!!) but it made me feel proud of myself. (I ended up buying do-nuts to substitute the sugar rush but shhh no one needs to know that.)

So basically this post is to make sure I'm accountable to someone and hopefully guilt trip me into sticking to this journey. If I give up after a few days I may just delete this post and pretend this never happened lol. Feel free to start the journey with me and I hope to be posting pictures, recipes, and progress throughout the phase.

In the meantime, here are some links to some of my favourite work out videos:

1. Tae Bo is actually amazing, like seriously, this guy does not play about. He throws you in the deep end and expects you to swim!! Fast!! But if you're resilient you will love the results.
https://www.youtube.com/watch?v=FVwv0bUEJpE

2. Only just came across this today and I am soo in love with it. It's a 2 part dance routine. One african themed and one carribean themed. I found myself sweating by the bucket but yet having fun. I definitely reccomend this if you are a beginner and if you're a good dancer you will love it even more.
https://www.youtube.com/watch?v=pq7IDD0Ye1Y

3. Everybody loves some Zumba!! This put a smile on my face and got me me working up a sweat.
https://www.youtube.com/watch?v=h-RMdXvs6bM